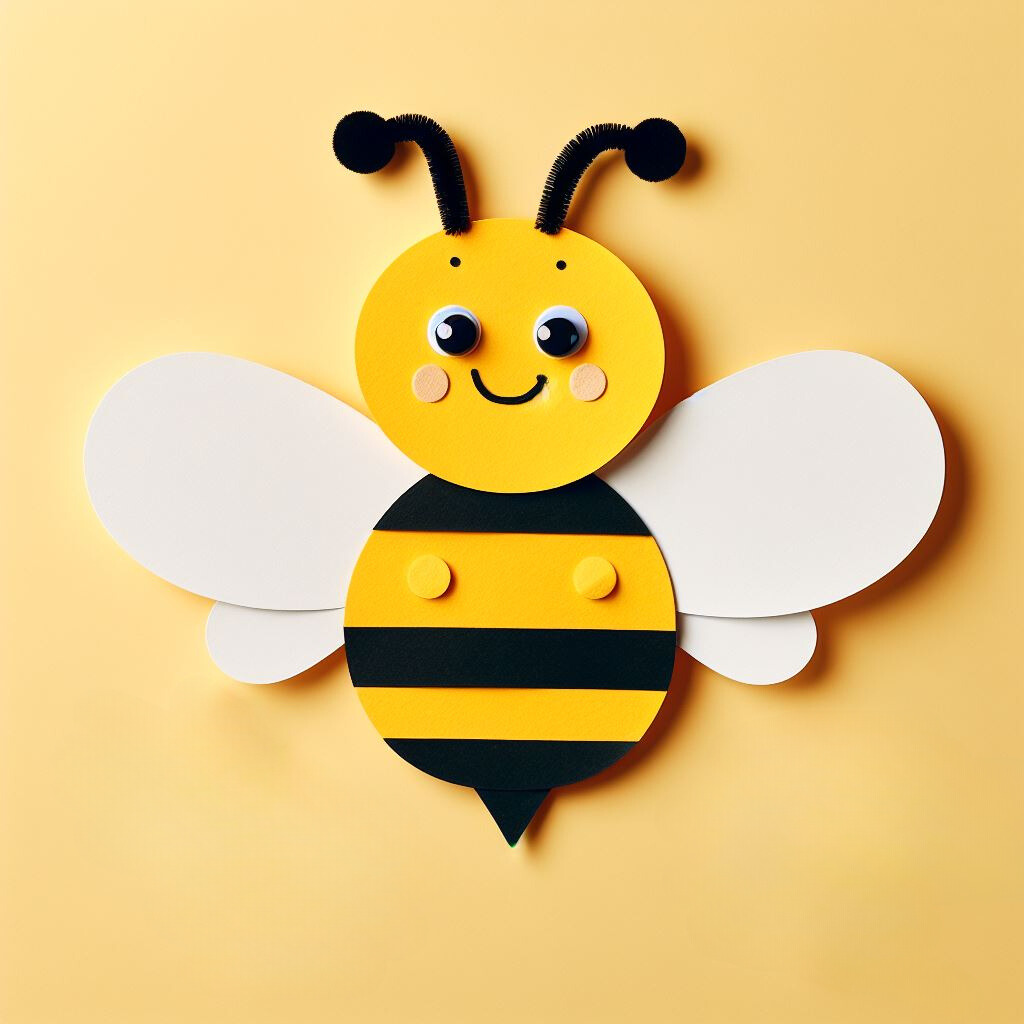
Suggested Family Activity 🐝 Bee Craft

How to Make a Bee Finger Puppet: A Fun Craft Activity
Bees are buzzing around flowers, and now you can create your own adorable bee finger puppet! This simple craft is perfect for kids and adults alike. Follow these step-by-step instructions to make your bee puppet:
Materials Needed:
- Yellow paper (colored or white)
- Black marker, Sharpie, or black crayon
- Glue
- Scissors
- Craft punch or hole punch (or a dime)
- White paper for wings
- Optional: Pipe cleaner or twist tie for antenna
Instructions:
- Cut Out Circles:
- Cut out a 2 ½-inch circle and a 3-inch circle from yellow paper. If you don’t have colored paper, use white paper and color the circles with crayons or markers.
- Also, cut two 2-inch white circles for the wings.
- Add Stripes:
- Take the largest yellow circle and draw black stripes across it using a black marker, Sharpie, or black crayon. These stripes will give your bee its characteristic look.
- Finger Holes:
- Create holes for your fingers to go through. You can use a craft punch, hole punch, or even a dime to trace two small circles. Carefully cut them out.
- Bee’s Head:
- The other yellow circle represents the bee’s head. Glue it to the body circle at the opposite end of the finger holes.
- Draw eyes and a smile on the bee’s head.
- Antenna:
- If you have a stiff craft supply like a pipe cleaner or a twist tie from a plastic bag, poke pieces into the head to create your bee’s antenna.
- Attach Wings:
- Trim off a little bit of one side of the white circles to make one straight edge. Glue this edge to each side of the bee’s body as its wings.
Your bee finger puppet is now ready! Put it on your finger and let it buzz around just like a real bee. 🐝 Enjoy this fun and creative activity!
Feel free to share this craft tutorial with others, and happy crafting! 🌼🎨


